
Downloading Report-IT and Connecting to the Studio
1.Download the Report-IT Enterprise Edition  app from the App Store for iOS devices for free.
2.After downloading and installing the application, tap the Report-IT Live Enterprise Edition app symbol on the phone screen to run the application.
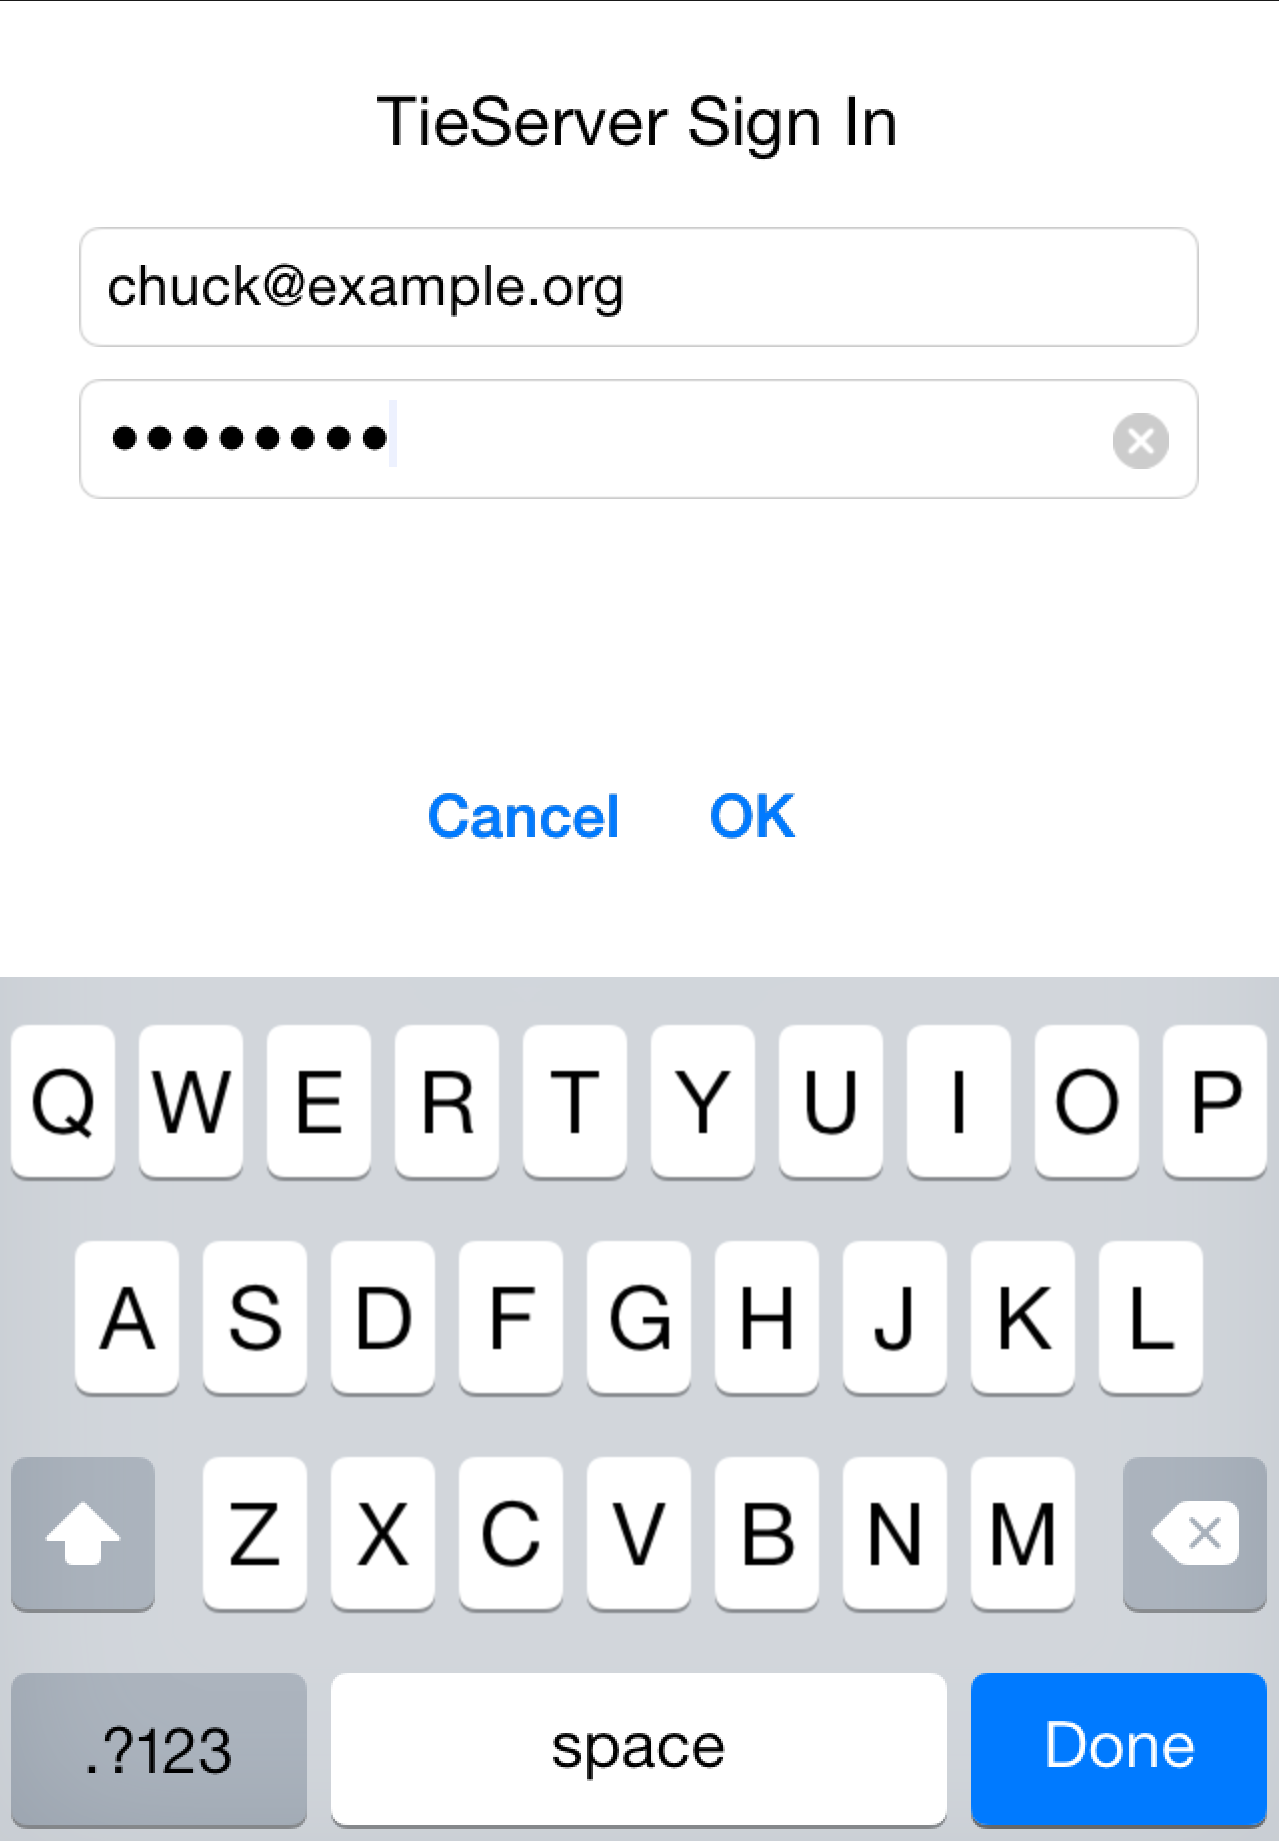
3.Enter the User Name and Password provided by the studio to sign in to TieServer, then tap OK. Note: it is possible for an administrator to configure Report-IT to remember the password for subsequent logins.
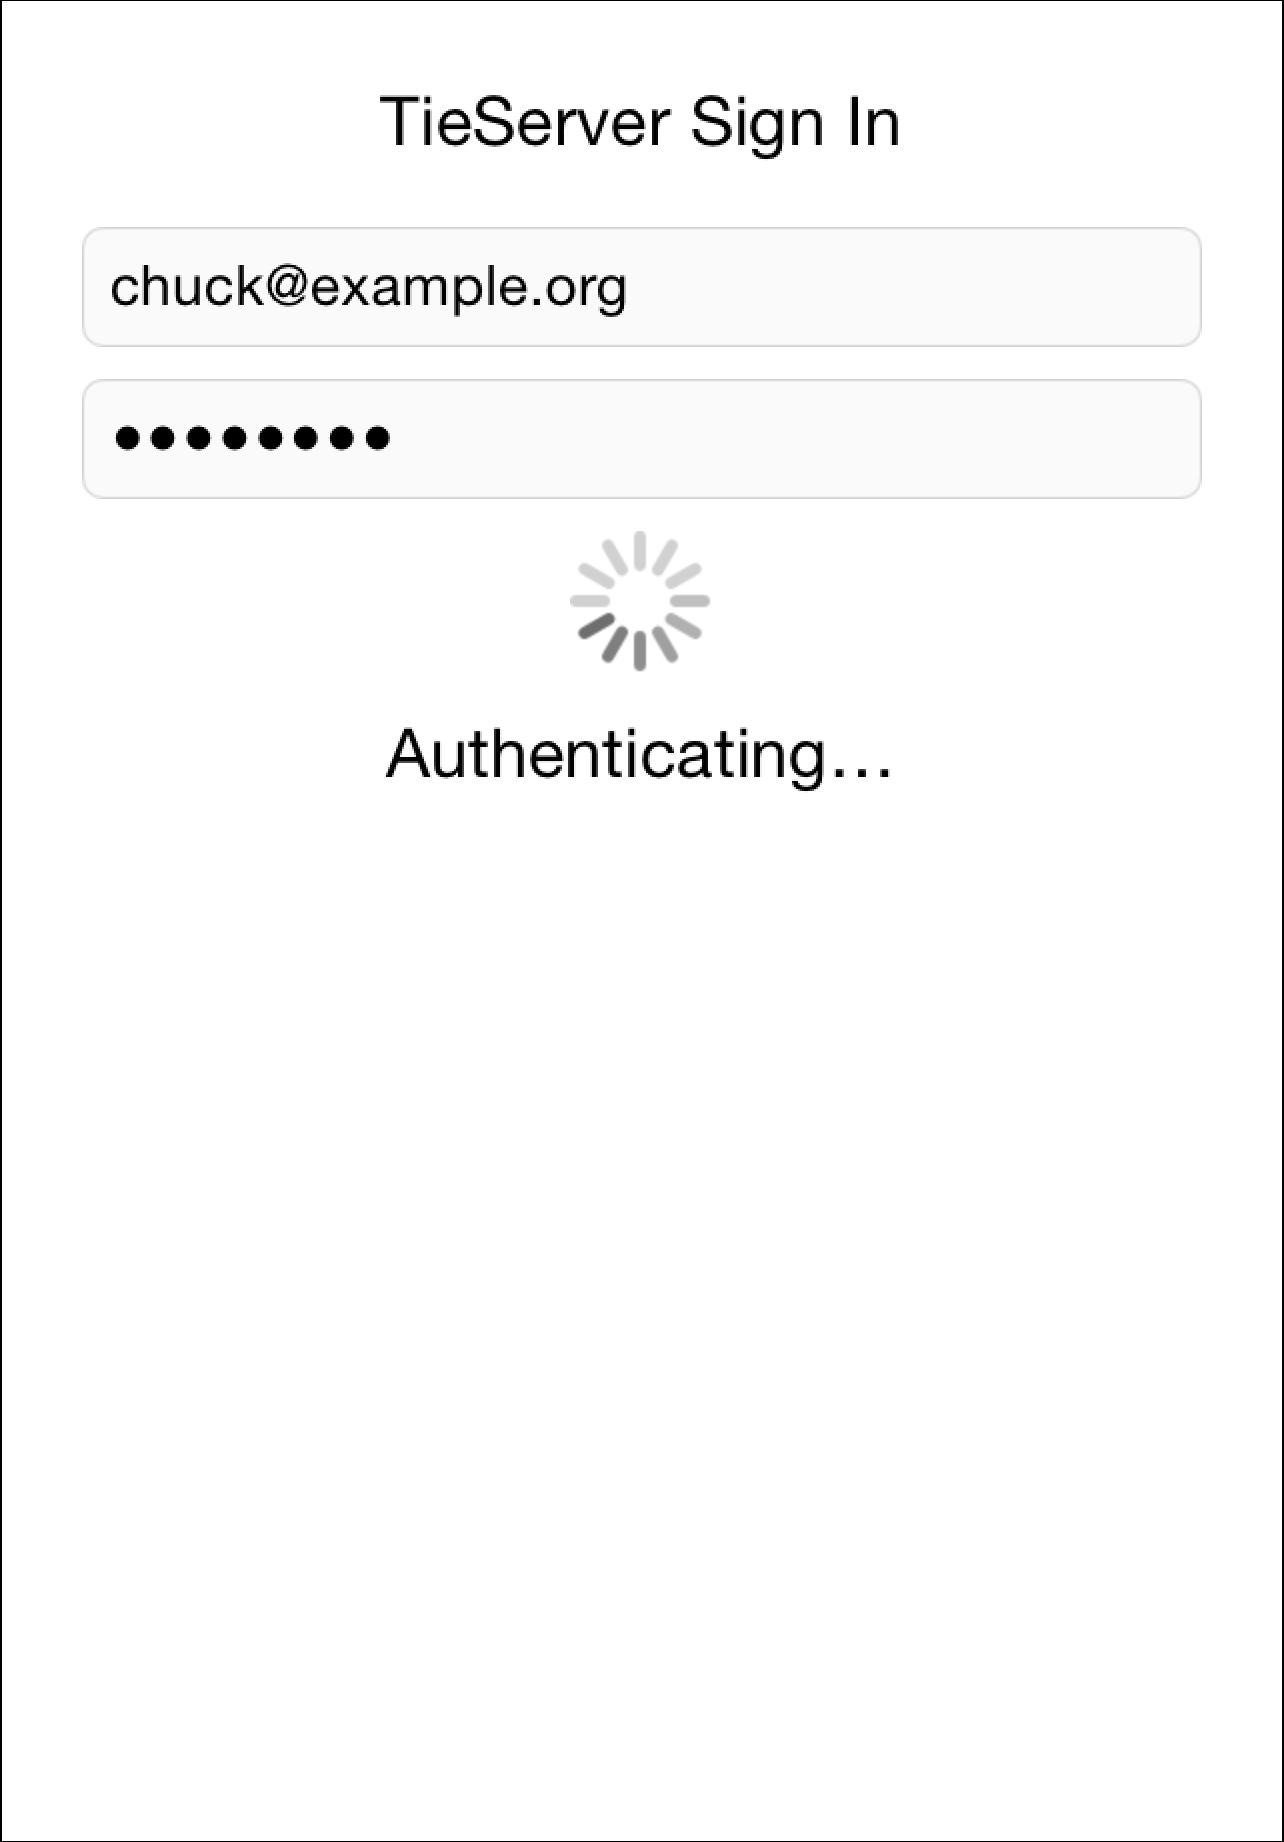
4.Report-IT will authenticate the password using TieServer and download all configuration and connection settings configured by the studio. This may take several seconds to complete.
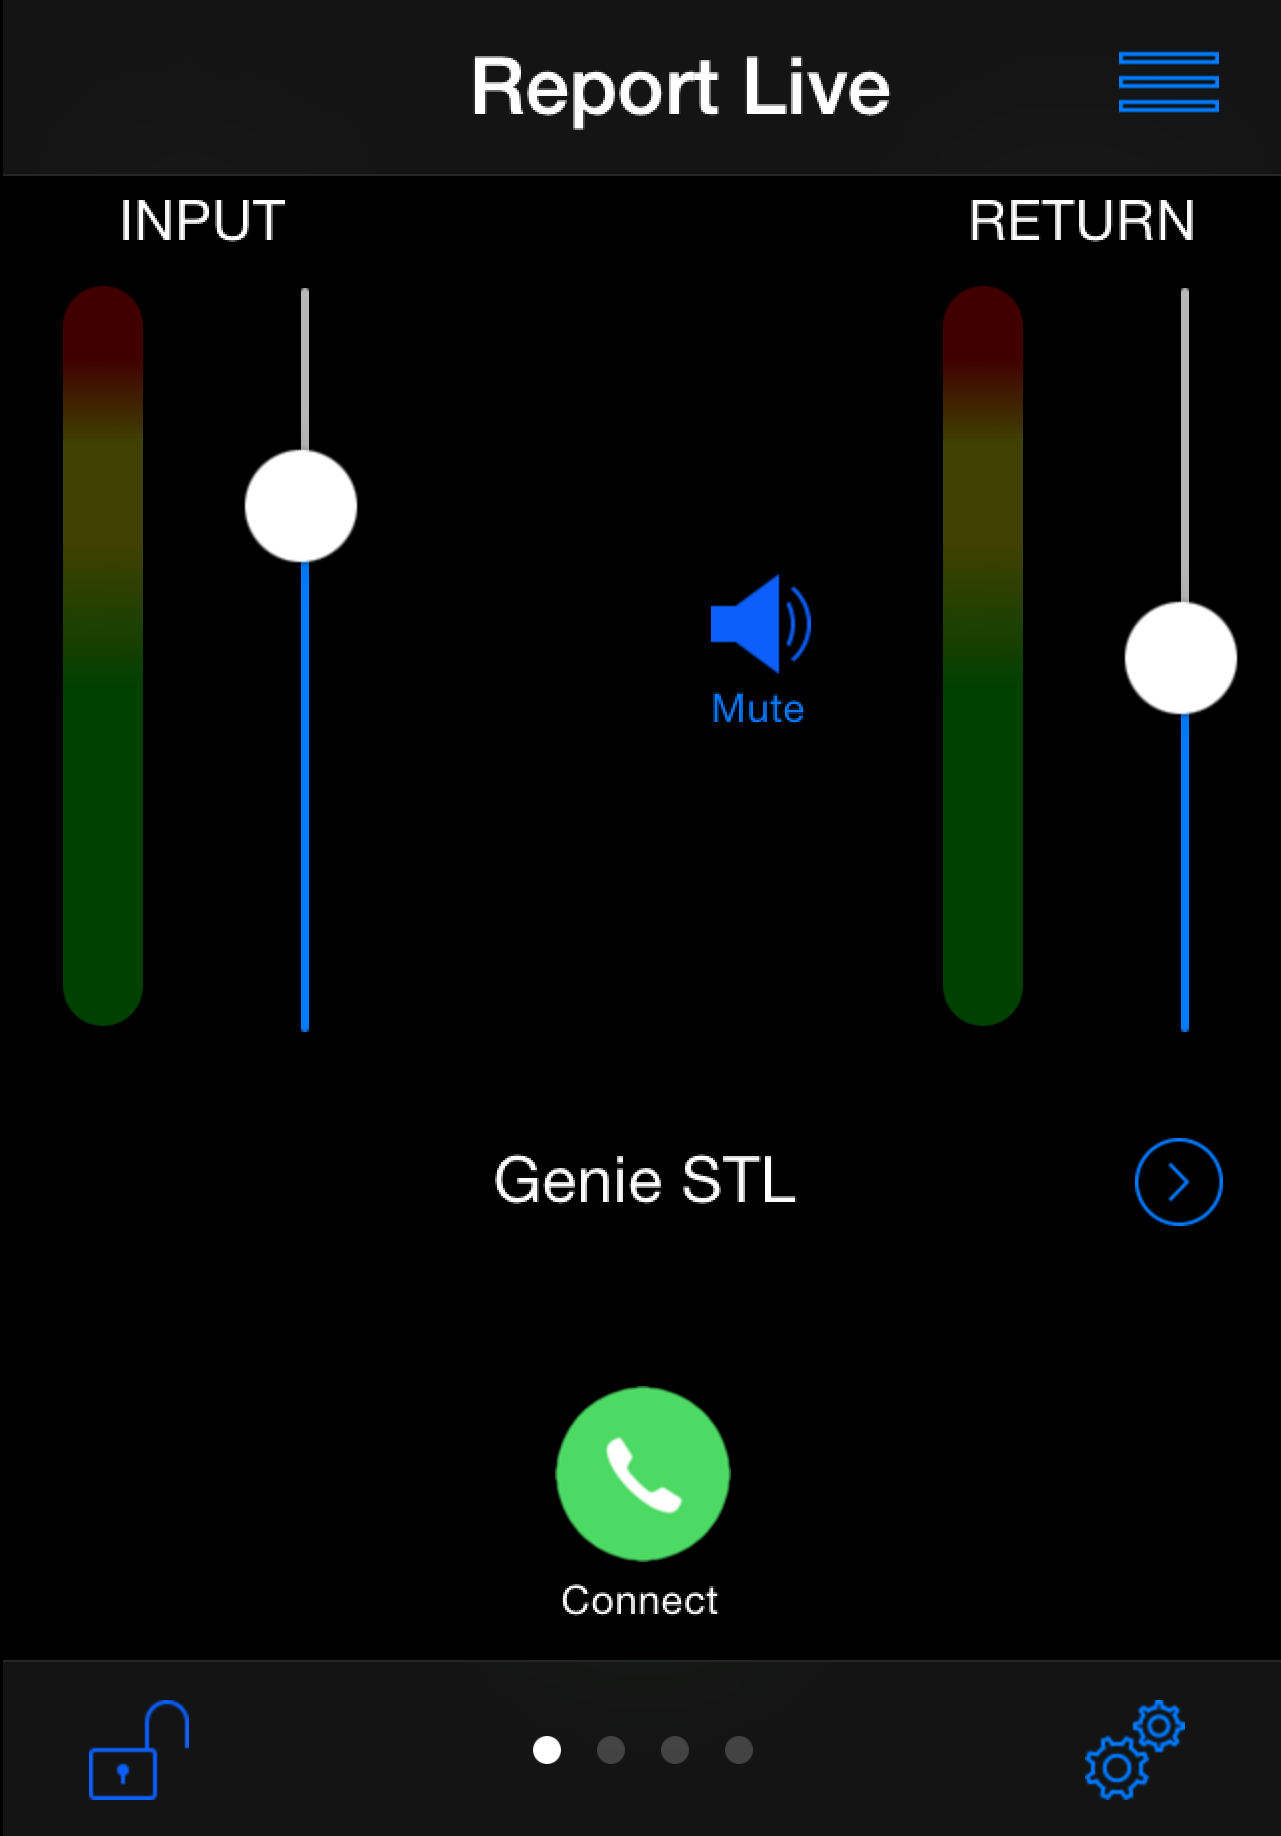
5.Move the Input Slider to adjust input audio levels.
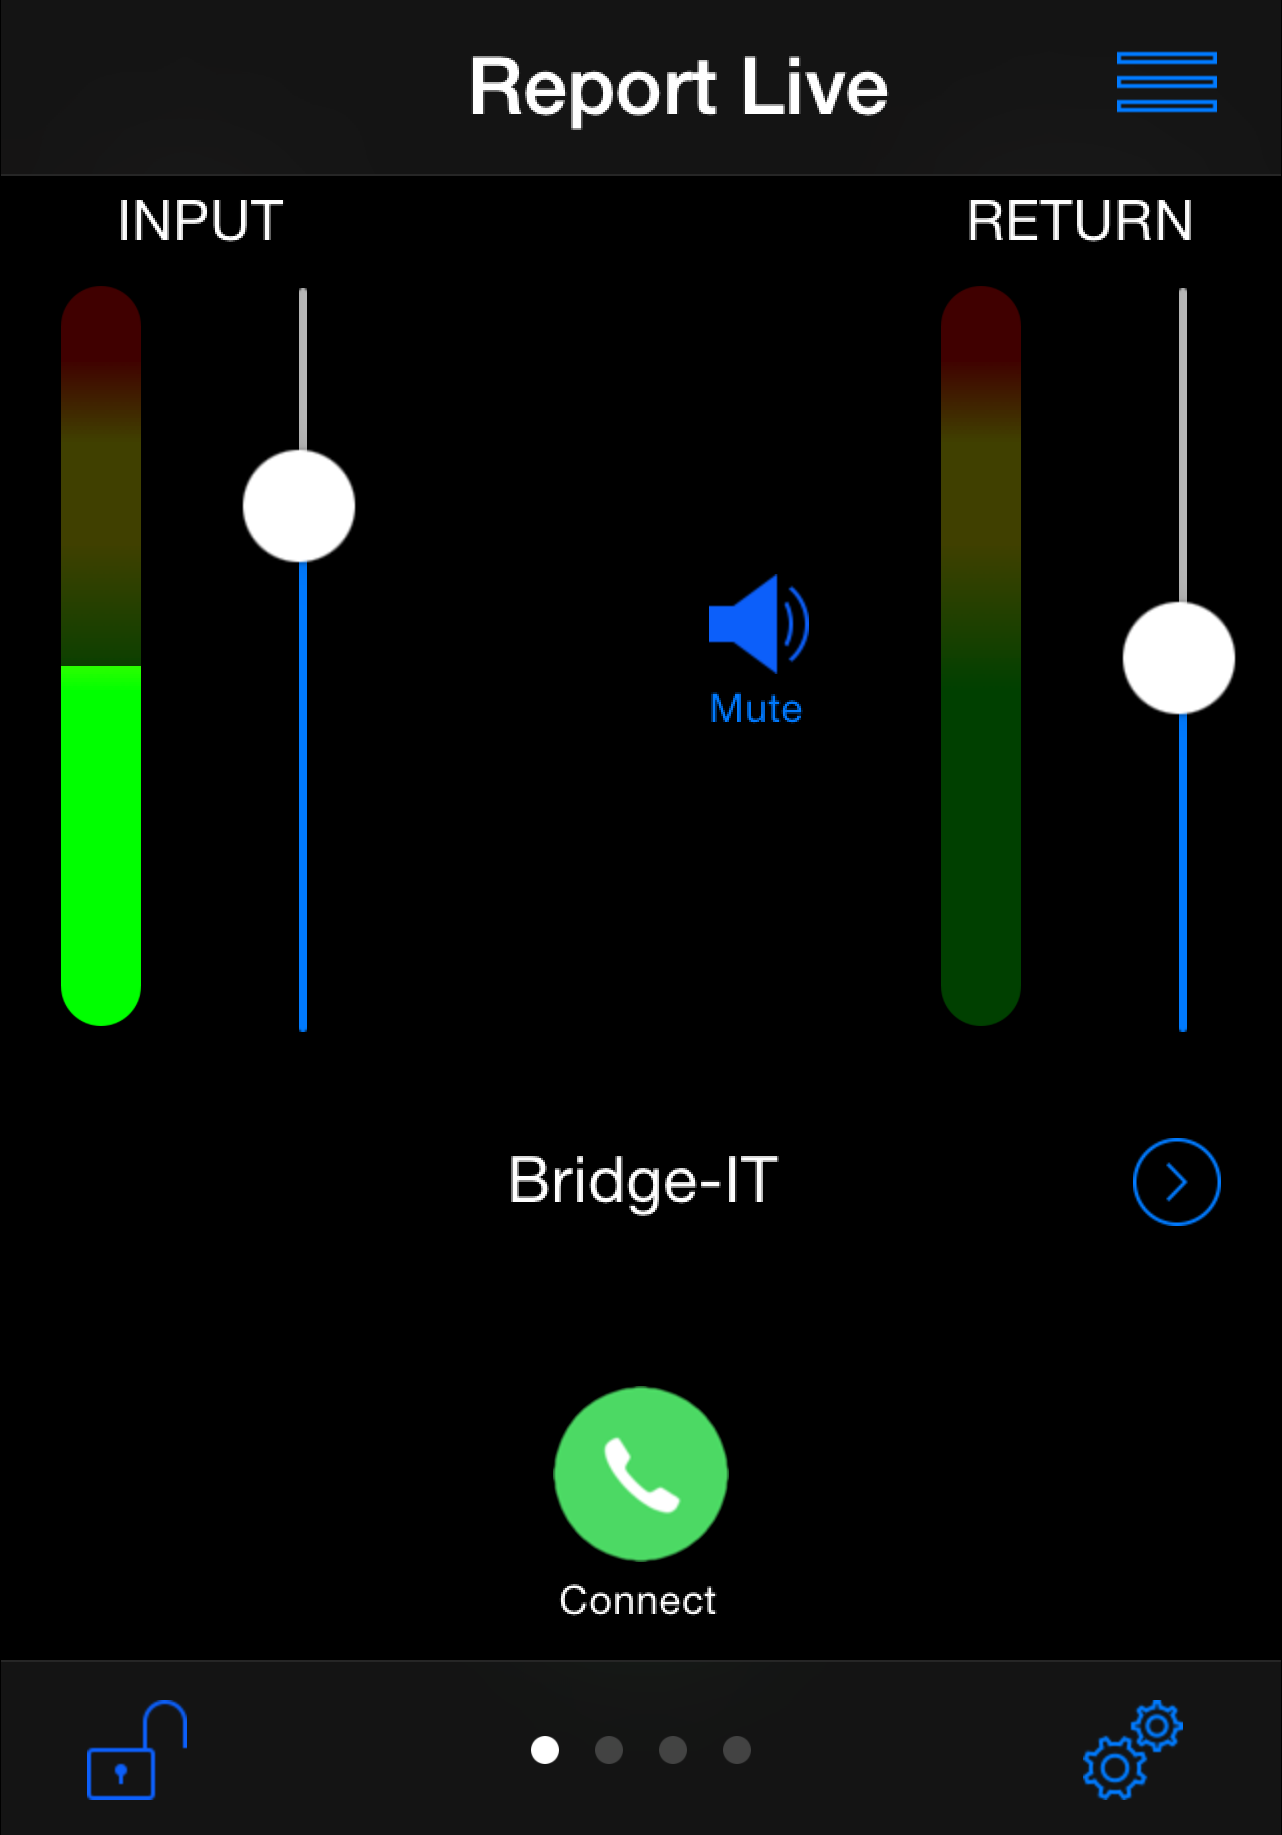
6.Tap Connect  on the Report Live screen to dial the studio codec and adjust the Return Slider to change return audio levels.
7.Tap Disconnect  on the Report Live screen to end the connection.
Connecting using VIP-Connect
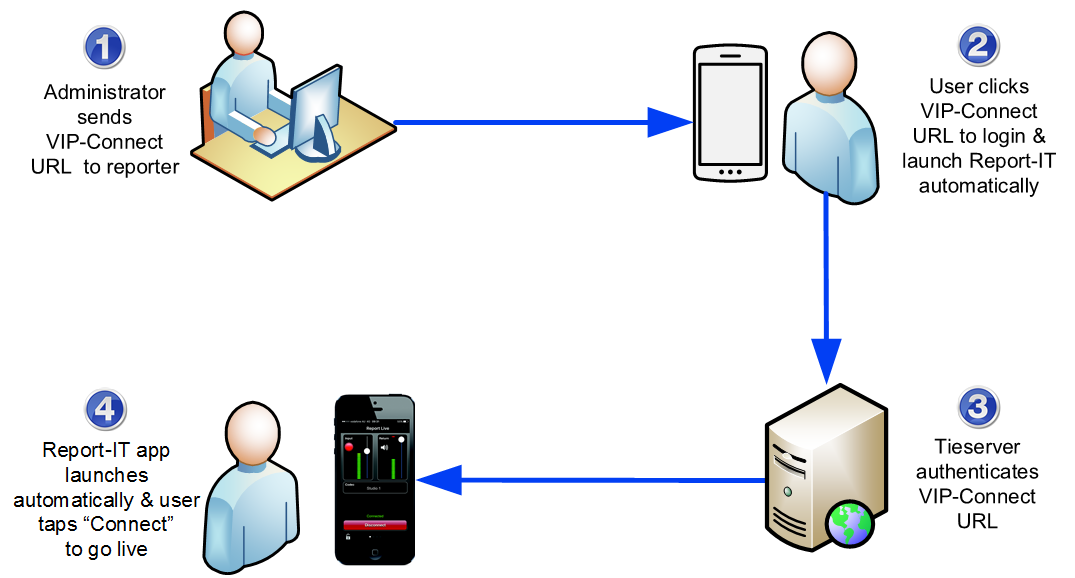
Using VIP-Connect, an administrator at the studio can send a personalized URL using SMS, email or other electronic form, which a user can click to automatically and securely log in and launch the Report-IT application. Note: This feature can only be configured by an administrator using the PC/Mac version of the TieServer Console.
Dialing Different Connections
More than one connection can be configured and users can select from multiple codecs installed and configured at the studio. To select a different dialing destination:
1.Tap the arrow ![]() symbol on the Report Live screen to view the list of available Codecs.
symbol on the Report Live screen to view the list of available Codecs.
![]()
2. Tap to select a new codec.
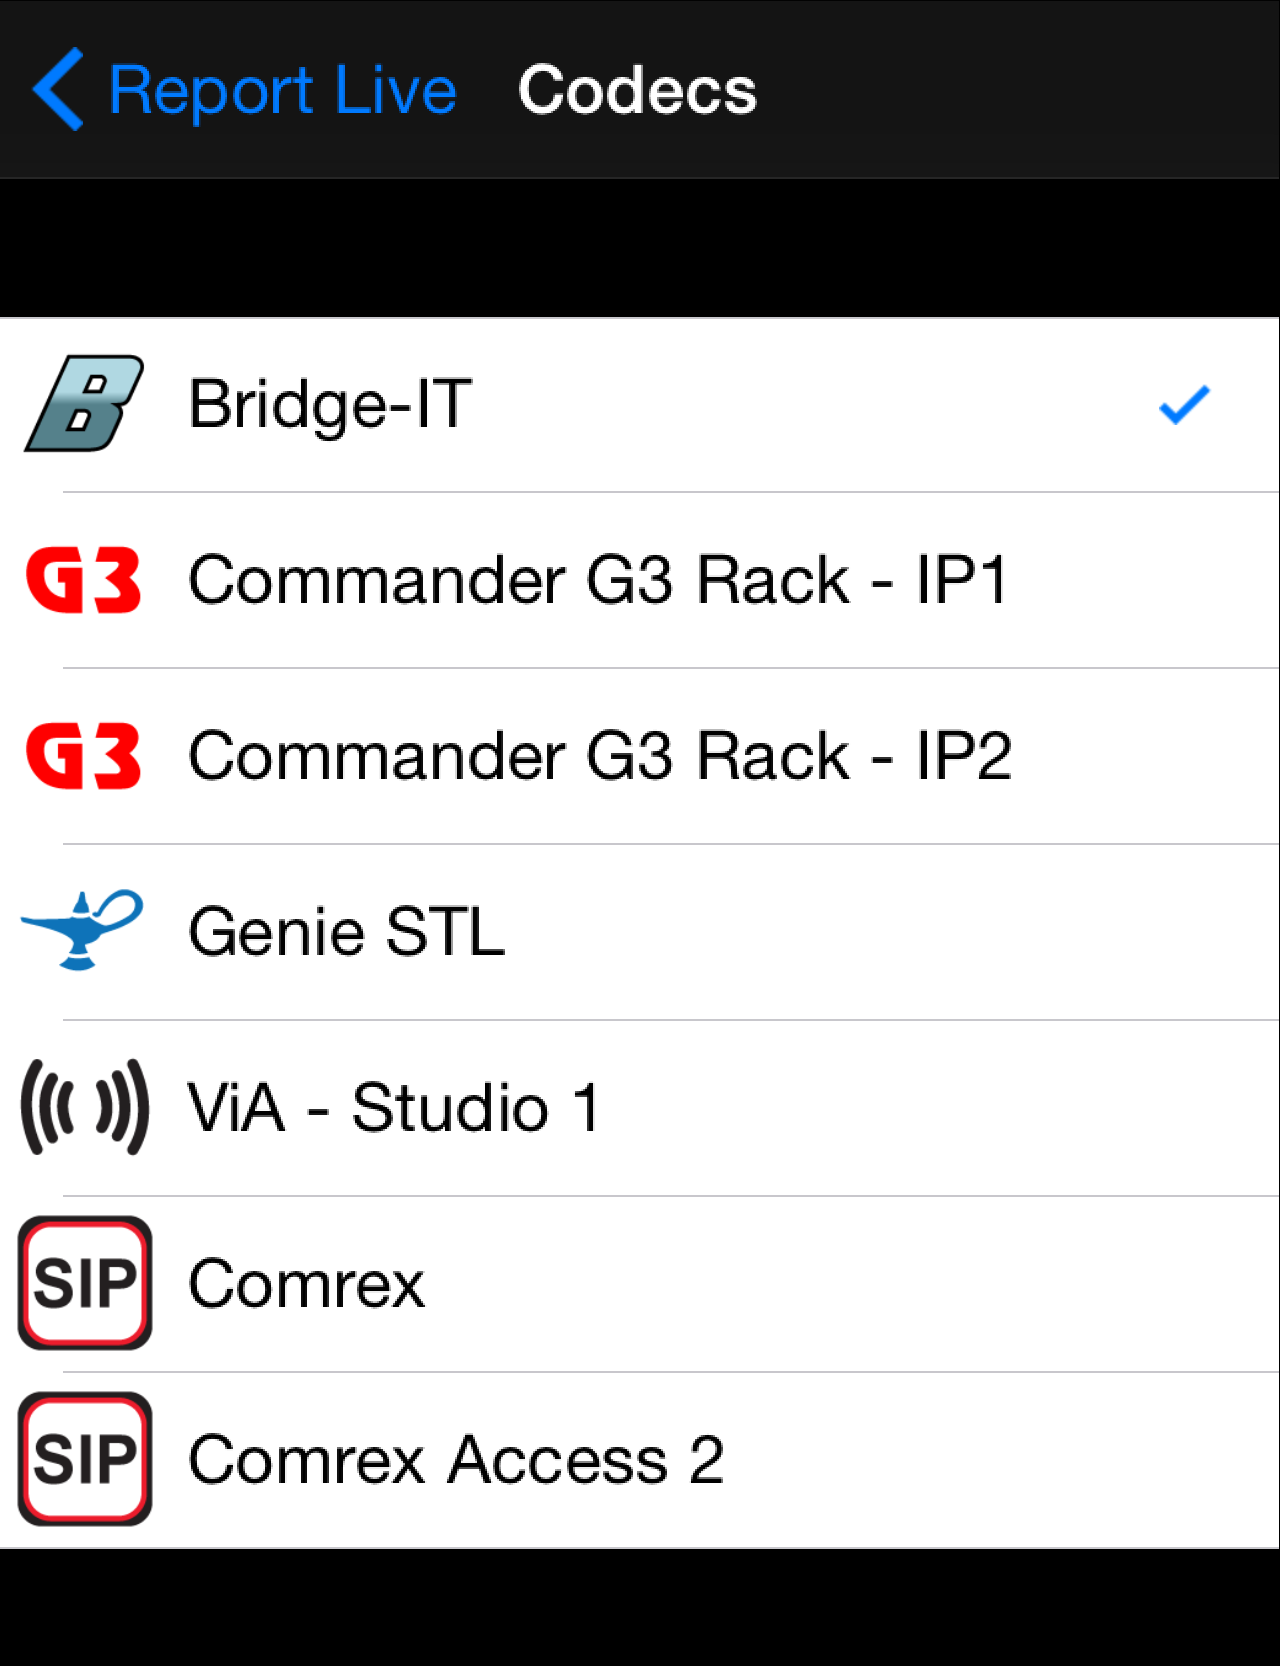
3.Tap Connect on the Home screen to dial the codec selected.
Recording a Report
Report-IT administrators can configure the Record on Connect feature and Report-IT will automatically start recording when a live connection commences. Offline recordings can also be performed if network connectivity is unavailable, or users wish to record interviews to insert later as playlists within live reports.
|
Important note when recording and reporting live: •If Auto Reconnect is On then recording will not stop if disconnection occurs. •If Auto Reconnect is Off then recording will stop if disconnection occurs. |

Recording a Report without a Live Connection
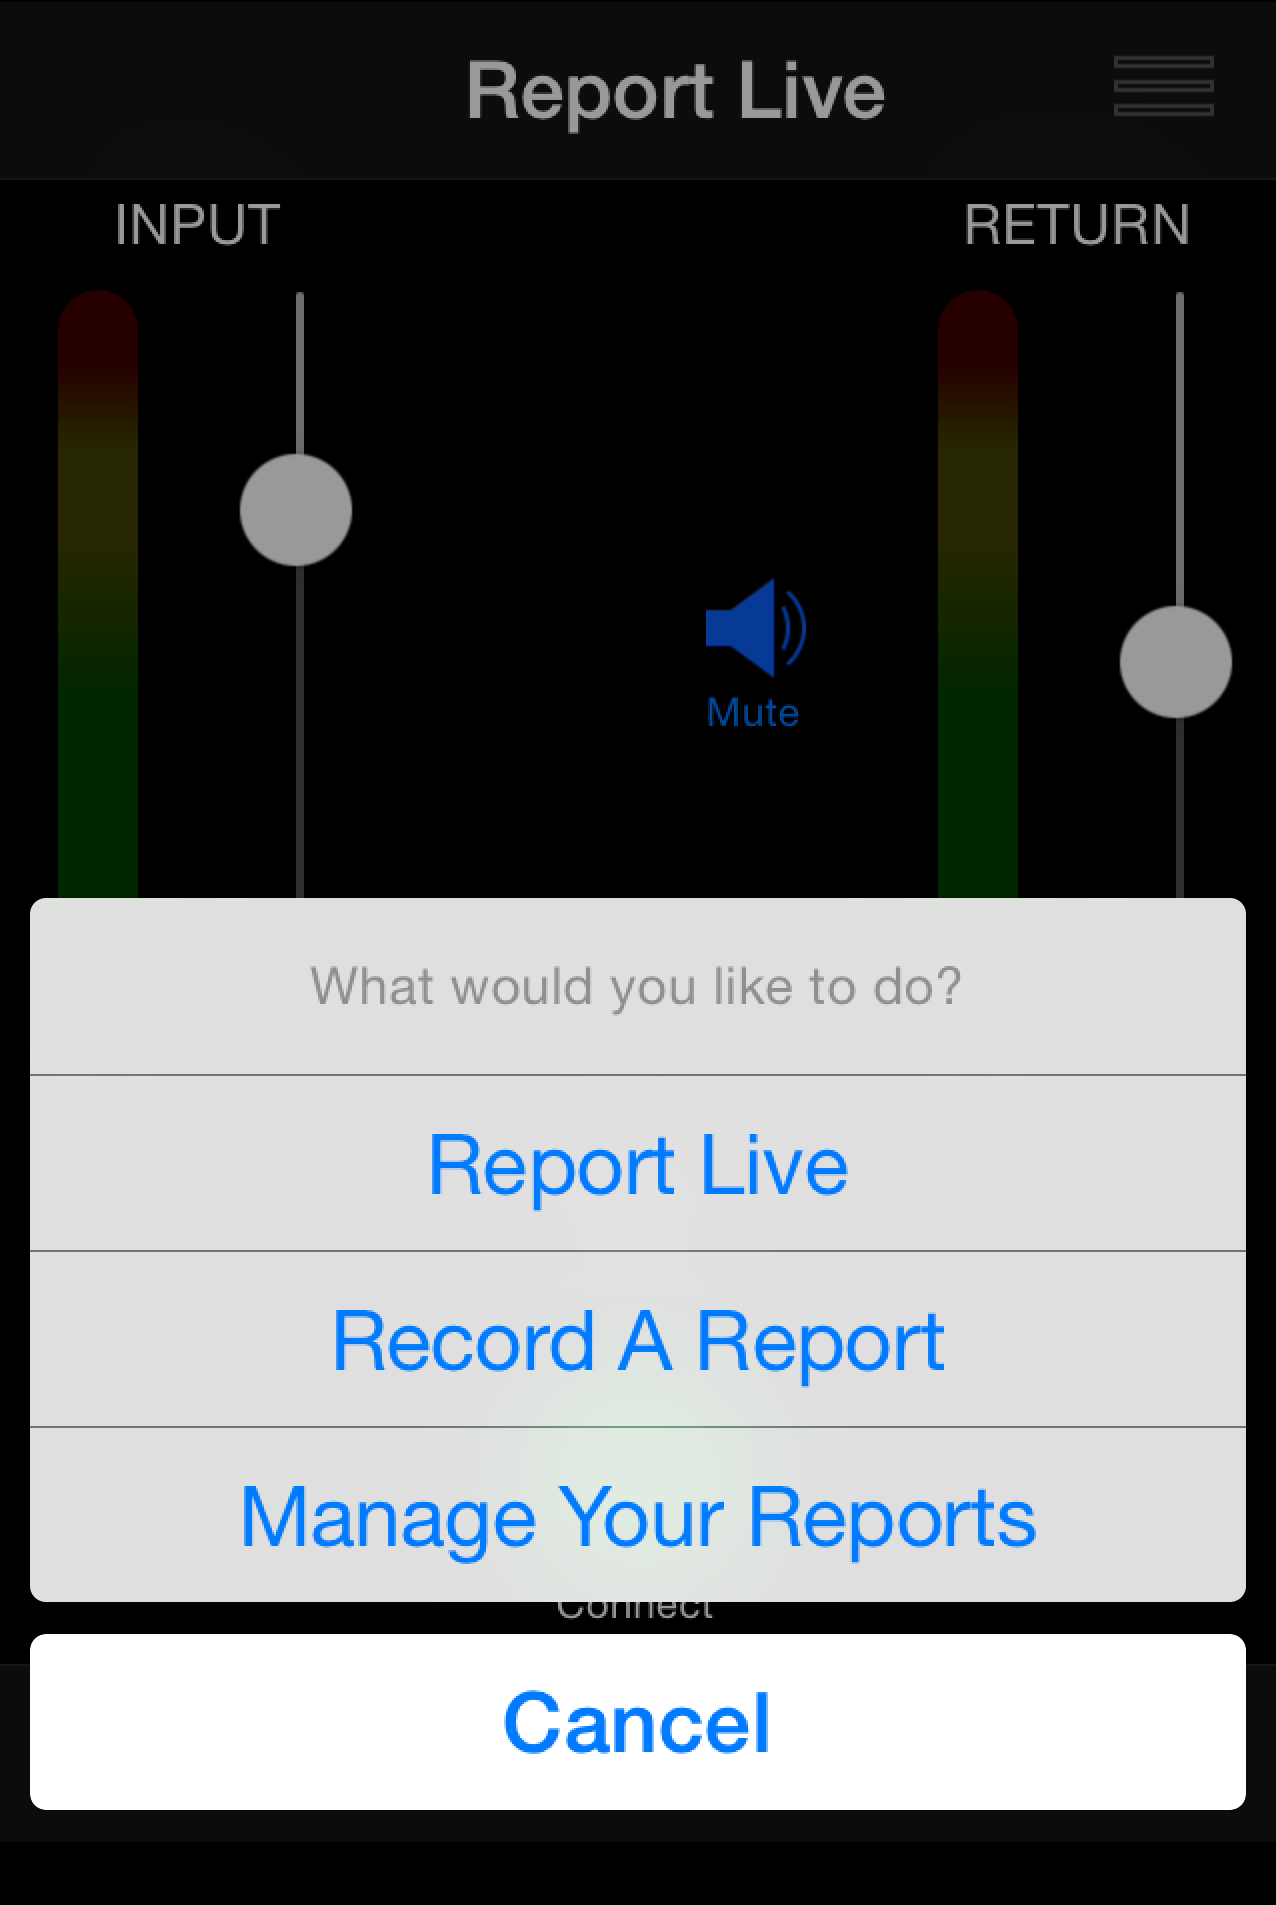
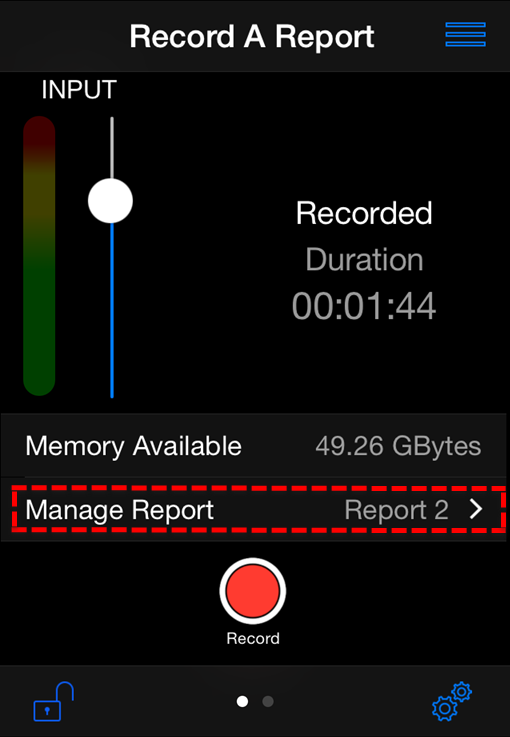
1.Tap the Menu  button in the top-right corner of the Home screen and then tap Record A Report.
2.Move the Input Slider to adjust audio input levels.
3.Tap the Record button to start recording.
4.Tap the Stop Recording button to end recording.
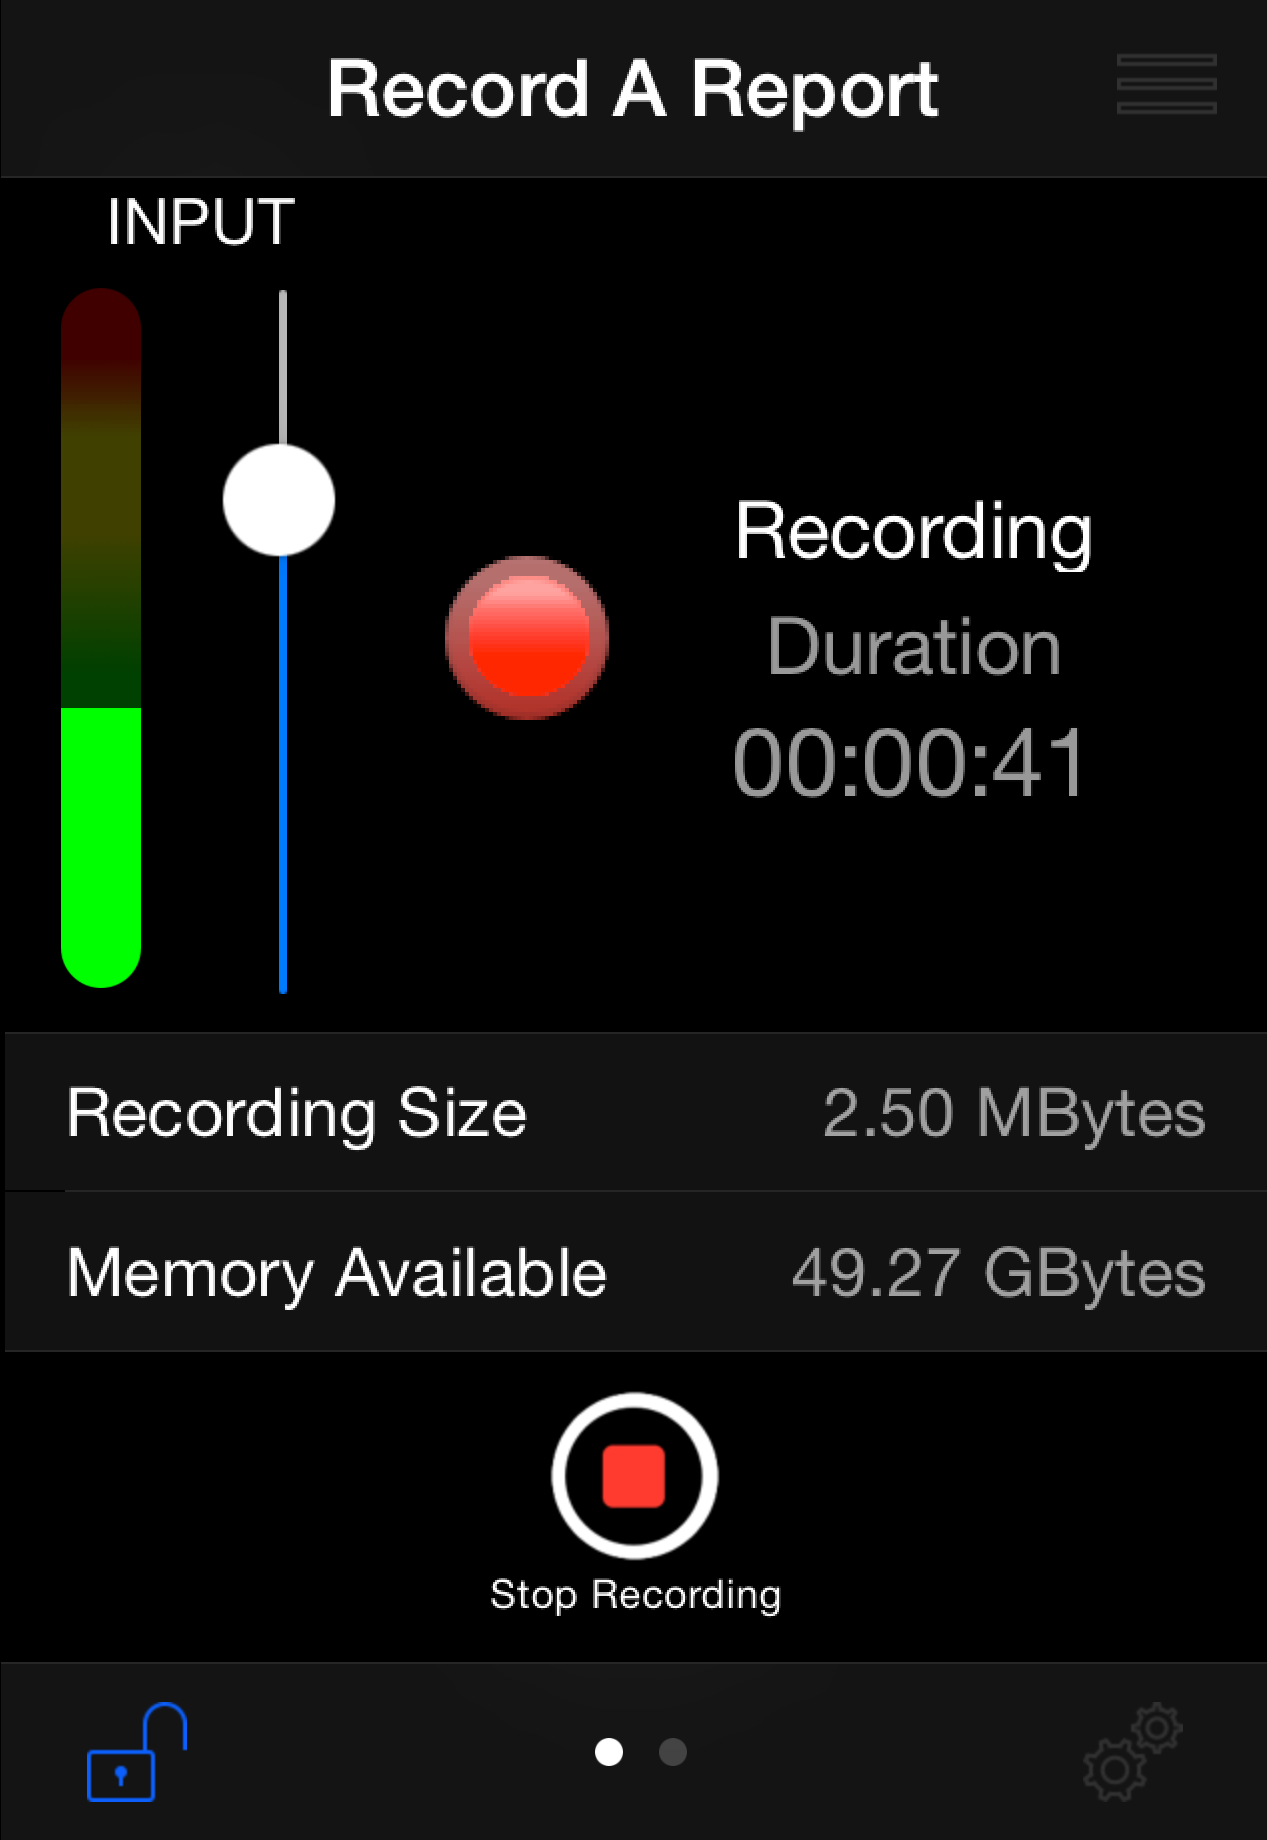
5.Tap Manage Report as a shortcut to rename or adjust other recording options for the selected report.
Managing Recorded Reports
Tap the Menu button in the top-right corner of the Home screen and then tap Manage Your Reports to manage all recordings. For more information see Managing Reports.
Sharing Reports
Report-IT supports file sharing and this can be performed manually or automatically.
Automatic File Sharing
Report-IT can be configured by an administrator to automatically prompt users to send a recording after it has been disconnected. If this is configured:
1.Tap Disconnect to hang up the connection.
2.Tap Upload to commence uploading the recording to the server. Data transfer is displayed on the progress bar.

3.Data transfer may take several minutes, depending on the size of the report and the upload connection bandwidth available. Upload Complete is displayed at the completion of the file transfer.
|
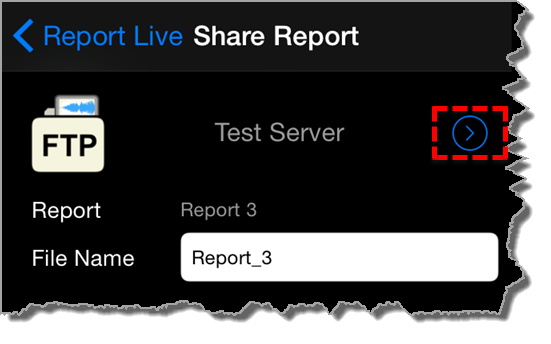
Important Notes: •Tap to edit the default name in the File Name text box using the onscreen keyboard prior to transfer if required. Tap Done when this is complete. •Tap the arrow
•Tap Cancel to end file transfer prior to completion. |
Manually Configured File Sharing
Recordings can also be selected and transferred manually.
1.Tap the Menu button in the top-right corner of the Home screen and then tap Manage Your Reports.
2.Tap to select a report to view it in the Report screen.
3.Tap Share on the Report screen.
4.Tap Upload to upload the report.
|
WARNINGS - To ensure your live or recorded operations are not interrupted by incoming phone calls and other applications: 1.Configure call forwarding to voice-mail or another number; tap Settings > Phone > Call Forwarding and then slide the switch to On. 2.Turn off the RINGER on the left-hand side of the iPhone to avoid SMS tone interruptions. IMPORTANT NOTE: This will not prevent incoming SMS messages and will only stop alert tones. If Report-IT is being used and an SMS is received, a dialog box with Close and Reply buttons is displayed. ONLY press Close in response to an SMS. If you press Reply Report-IT will shut down and suspend your recording or transmission. 3.If you are recording a report only you can switch on Airplane mode via the iPhone Settings application. In Airplane mode no phone calls or SMS messages will be sent to the iPhone. When you have finished recording, Airplane mode must be turned off to retransmit or share your recording. 4.In the Calendar application, ensure that there are no event alarms enabled during the planned live/recording period. 5.Ensure that no Clock application alarms are enabled during the planned recording period. 6.Do not plug in or unplug a headset during recording. Likewise, do not dock or undock the device during recording. 7.Do not plug the iPhone into a power source during a recording. When an iPhone gets plugged into power, it beeps or vibrates, according to user settings.
If you can't enable call forwarding before your report and you receive an incoming call, decline the call ASAP using the Decline button on the iPhone screen. From the time that the incoming call alert is shown, to the time the decline button is pressed, recording will cease and silence will be transmitted. |

|
Important Notes: •If Auto Reconnection is ON the Report-IT app will attempt to automatically reconnect to the studio codec if the connection is temporarily lost. This setting is configured by the studio administrator. •Use your finger to swipe left twice from the Report Live screen to view connection Statistics and Renegotiate the connection bit-rate if this setting is not disabled. •The Return PPM meter on the Home screen displays no audio until a connection to the studio codec is created. •Tap Configuration •Tap Configuration |

